Home > Bathroom Tub Leak? The Caulking May Be the Culprit
Bathroom Tub Leak? The Caulking May Be the Culprit
BY Iryna Ostapchuk | October 17, 2016 | Last Updated: July 2, 2025
If you notice water leaking out from around your bathtub after taking a bath, the problem is not always with the bathroom plumbing. Sometimes, the cause of the leak is caused by old, worn, or missing caulk. Caulk helps seal around the tub to stop water from leaking over the sides and onto the floor.
To determine if the caulk is the cause of the leak, look at the caulking around the tub. See if there any missing sections. Check and see if you can pull on the caulk and whether it pulls away from the tub. If either of these is discovered, then you need to replace the caulking.
How to Remove Old Caulk
Removing old caulk can be very time-consuming. Before you can apply new caulking, you must start with a clean surface. You can use a utility knife to slowly scrape off the old caulk or use a caulk-removal tool.
Once the caulk is removed, run your fingers over the areas where it used to be. It should feel smooth and clean. If there is still old caulk on the surfaces, you can use mineral spirits and a rag to remove it. There should not be any mold, mildew, or moisture in these areas, either. You may need to use a toothbrush to scrub and properly clean the areas where you need to reapply caulk.
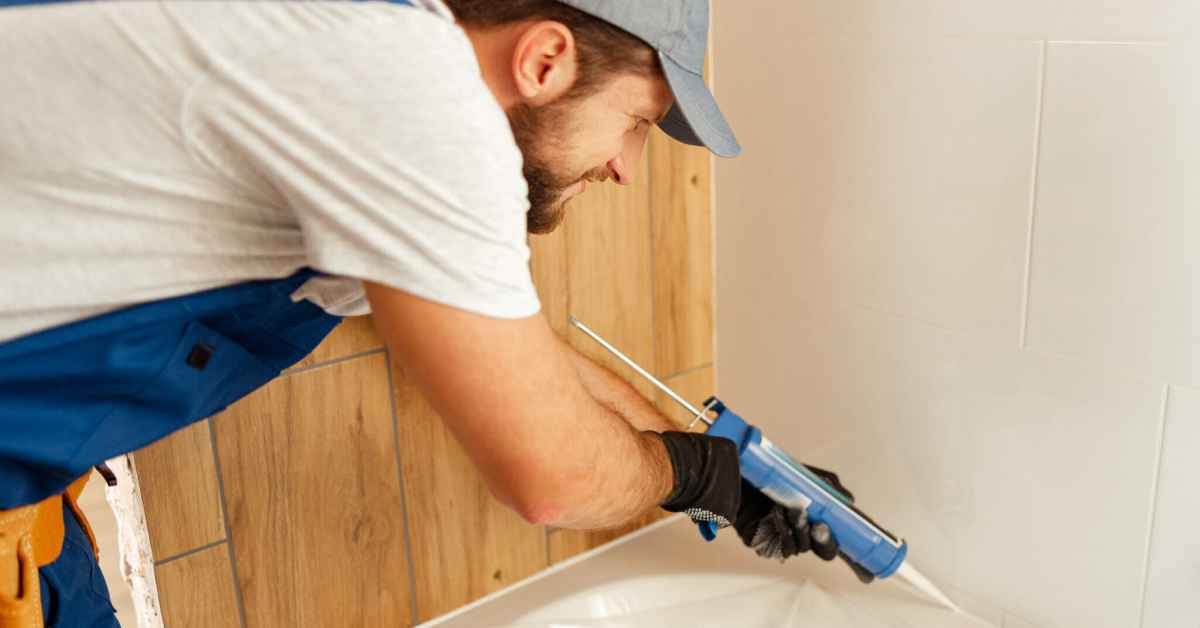
How to Apply New Caulk
Working with caulk might seem like an easy task. However, it can get messy very quickly if you do not know what to do. Plus, you need to make sure you get the right type of caulk for the bathroom. There are numerous kinds of caulk, each for specific purposes. Silicone caulks work well in bathrooms because they are water-resistant.
In addition to the right caulk, you will also need the following supplies:
- Painters Tape
- Caulk Gun
- Rags
- Utility Knife
- Caulk Finishing Tool
- Mineral Spirits
- Latex or Nitrile Gloves
Before caulking, you will want to use painters tape to cover over areas next to where you need to apply the caulk. You will need to cut the tip to the desired size and use a long screw or nail to punch open the caulk before loading it into the caulk gun.
After you caulk, use the finishing tool to smooth the caulk. Then, carefully remove the painter’s tape. Allow the caulk to fully cure before using the tub. If you accidentally get caulk onto areas where you don’t want it, use a rag with mineral spirits to clean it up before it cures.
Why Call in a Professional Plumber for Help?
Getting that perfect bead and finished smooth look you want with caulk is difficult for most people. Professional plumbers work with caulk quite frequently, so they are experts at how to apply it correctly. Plus, if there are other plumbing problems you need to have fixed, you can have these taken care of at the same time.
For help finding leaks and fixing them, as well as 24-hour plumbing service for emergencies, please feel free to contact MET Plumbing LLC at 281-599-3336 today!